Introduction
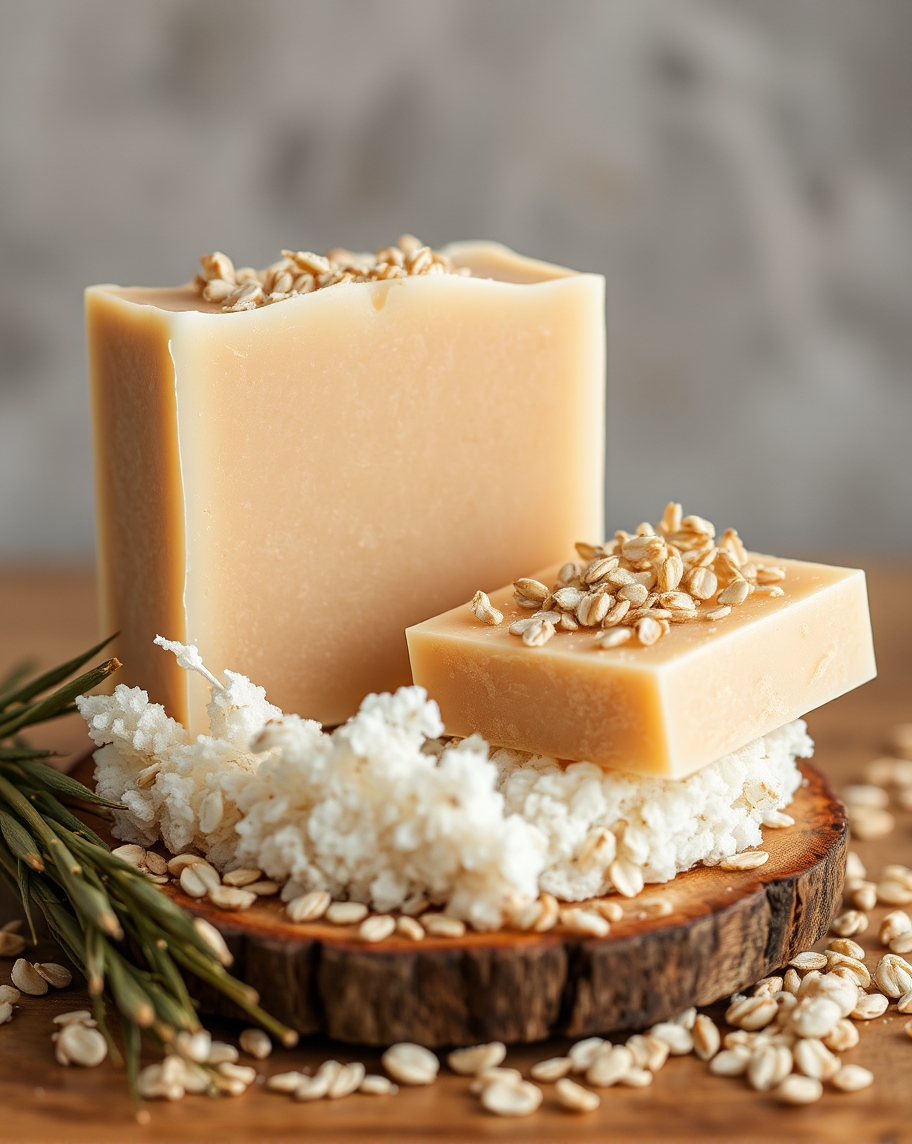
Oatmeal soap 🧽 is a popular natural remedy for a variety of skin conditions, offering exfoliating, moisturizing, and soothing benefits. Whether you’re looking for a soap that gently exfoliates dead skin cells, calms irritation, or hydrates dry skin, oatmeal soap is a fantastic option. Making oatmeal soap 🧽 at home allows you to customize the ingredients for your specific needs and ensures you have control over what goes on your skin.
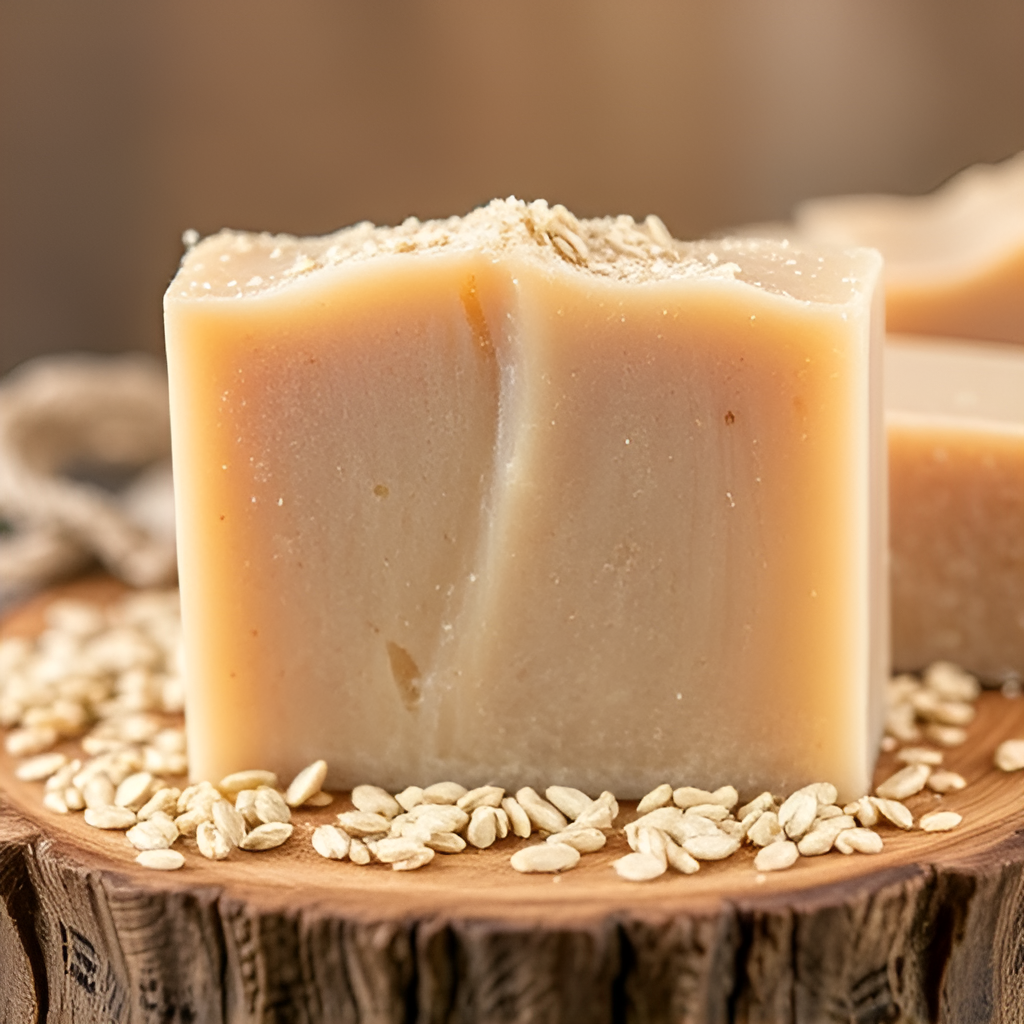
In this comprehensive guide, we will explore everything you need to know about creating your own oatmeal soap 🧽 from scratch. We’ll cover both the melt-and-pour method for beginners and the cold-process method for more experienced soap makers. This step-by-step guide will walk you through the process, offer tips on using different ingredients, and provide insights into the benefits of oatmeal soap.
Why Use Oatmeal in Soap 🧽?
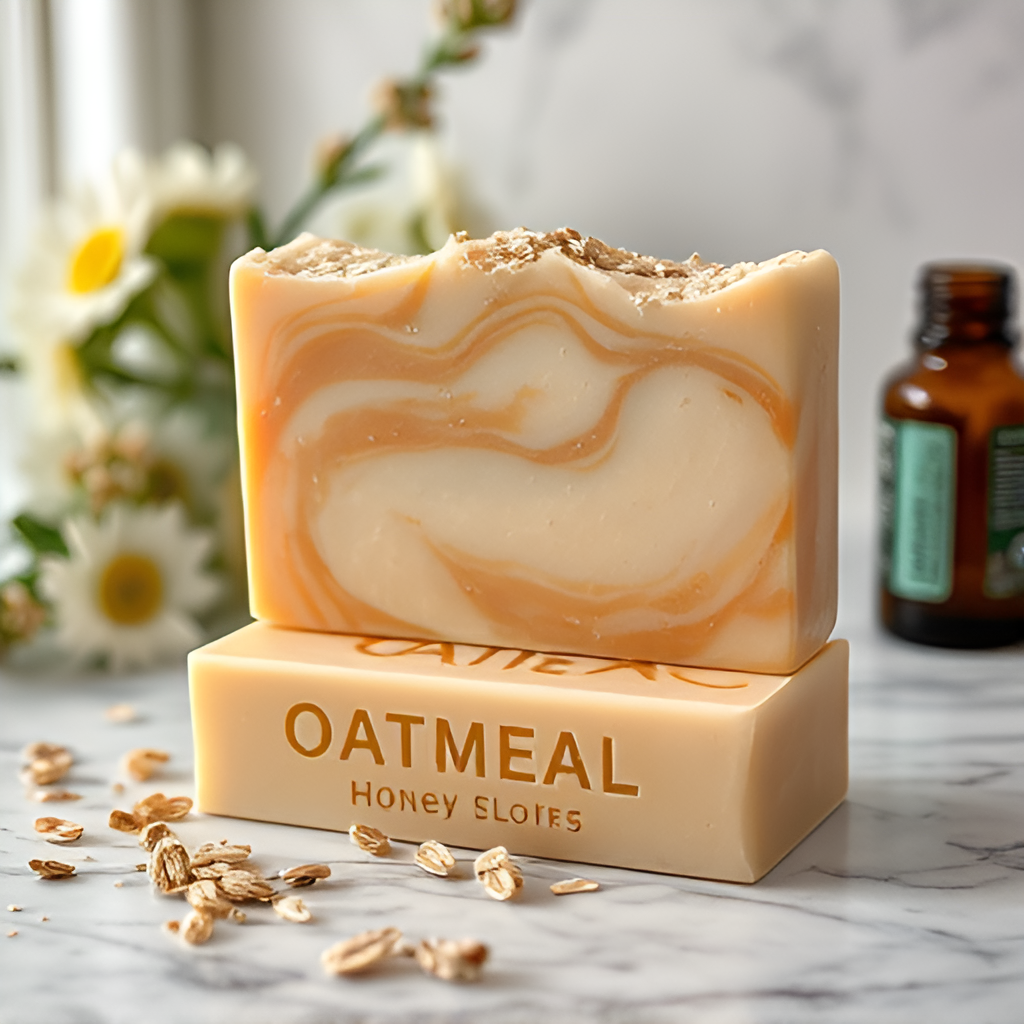
Oatmeal has been used for centuries in skincare routines due to its numerous benefits. Here’s why oatmeal is such a powerful addition to soap:
1. Exfoliation of oatmeal soap 🧽
Oatmeal contains saponins, which act as natural cleansers. The fine granules gently exfoliate dead skin cells, leaving the skin smoother and clearer without being too abrasive. The result is a polished, rejuvenated complexion that looks healthy and radiant.
2. Soothing Properties
Oatmeal is known for its ability to soothe skin irritation and inflammation. This makes it ideal for people with sensitive or dry skin conditions like eczema, psoriasis, and dermatitis. The natural proteins in oatmeal help maintain the skin’s natural barrier, which protects against external irritants.
3. Moisturization
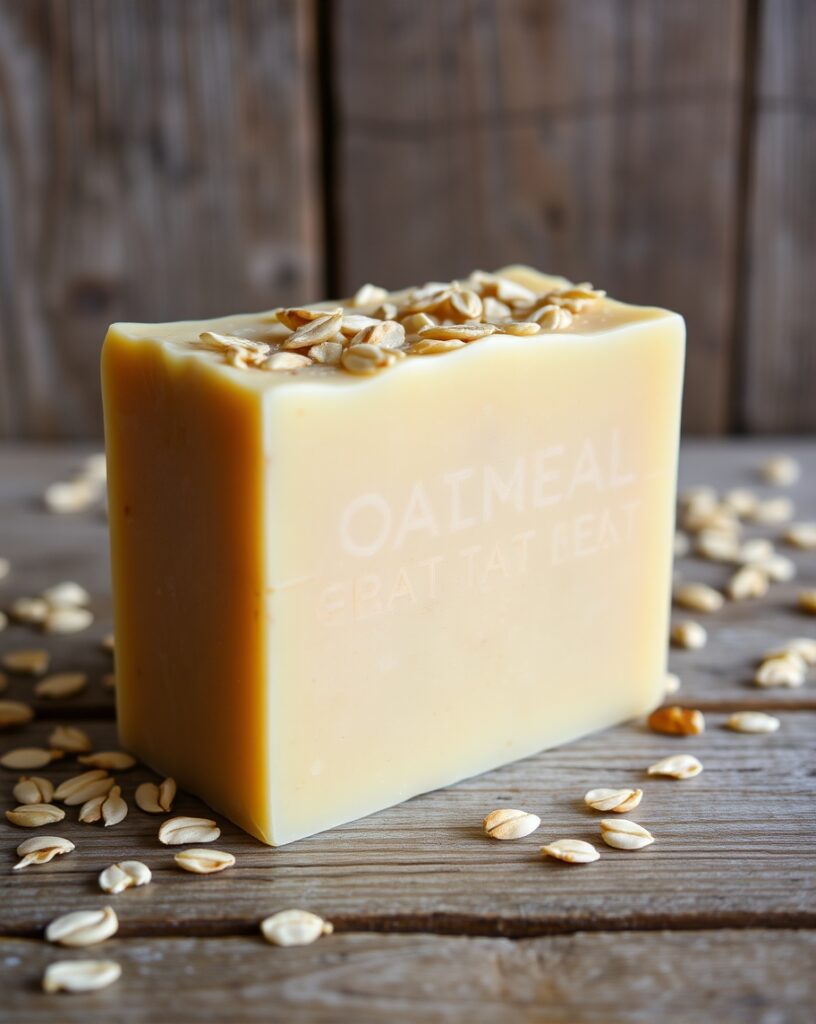
Oatmeal contains lipids that form a protective layer over the skin, preventing moisture loss. It hydrates the skin and helps restore the skin’s natural pH balance. This is especially beneficial for those with dry or flaky skin, as it leaves the skin feeling soft and supple.
4. Natural Cleansing
Oatmeal’s cleansing abilities go beyond just exfoliation. The saponins in oatmeal are excellent at removing dirt, oil, and impurities from the skin, making it a great addition to soap for those prone to breakouts or oily skin.
Essential Ingredients for Making Oatmeal Soap 🧽
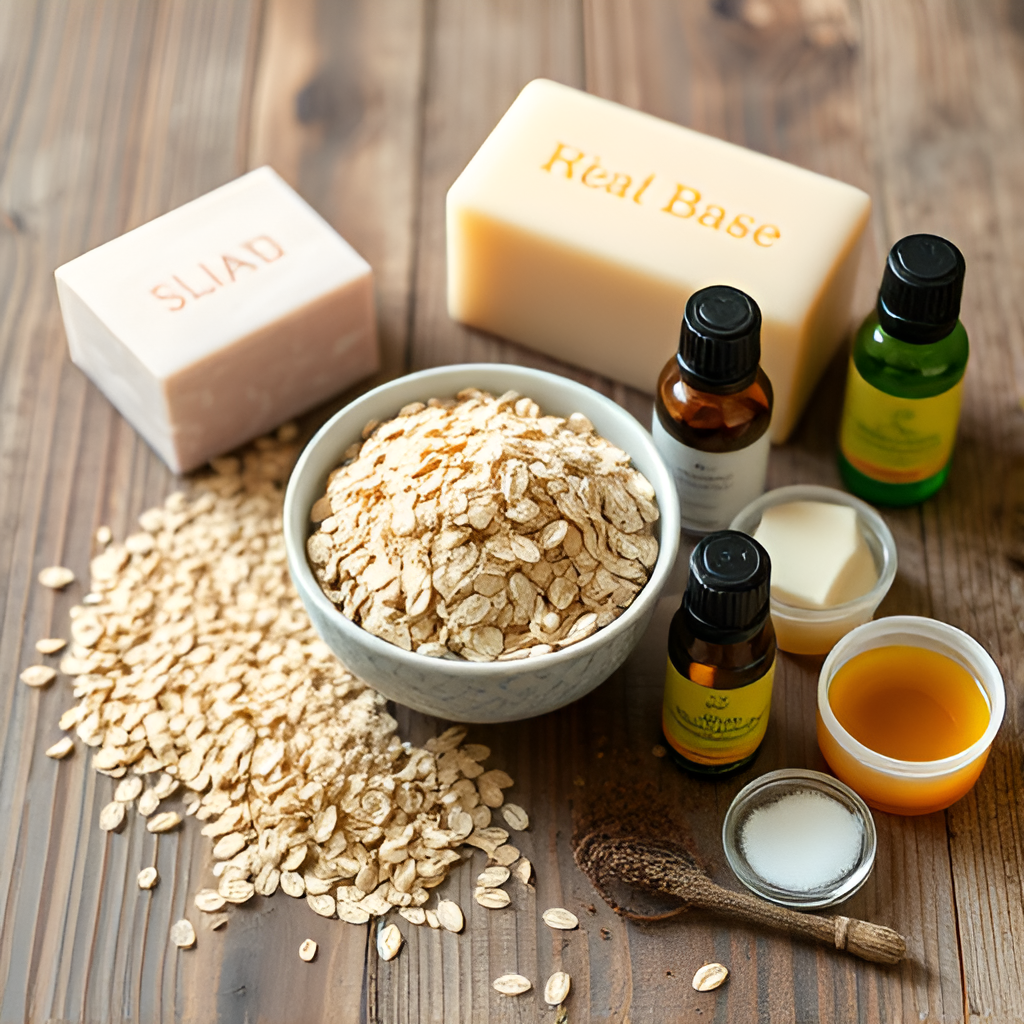
Before you start making oatmeal soap, it’s important to gather all the necessary ingredients. Here’s a breakdown of what you’ll need:
Oats
You’ll need finely ground oats, commonly referred to as colloidal oatmeal, for your soap. Regular rolled oats can also be used, but they should be ground into a fine powder so they don’t create rough patches on the skin.
Soap Base or Oils and Lye
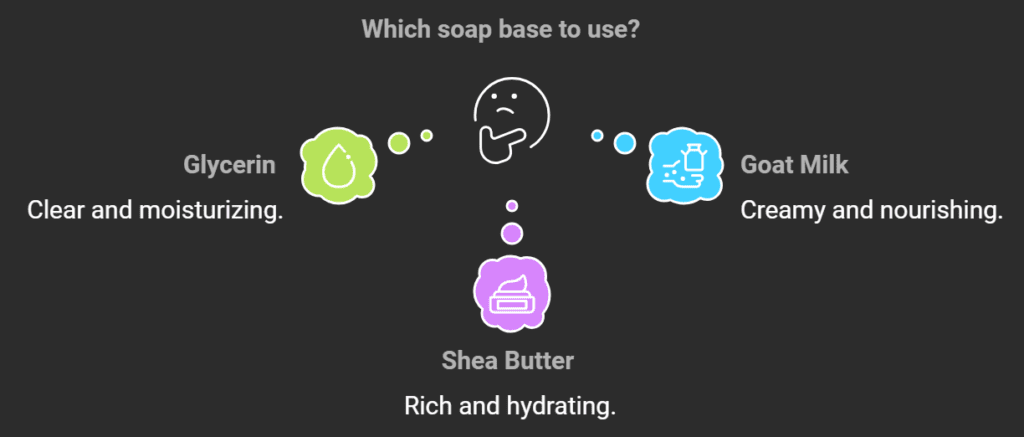
If you’re using the melt-and-pour method, you’ll need a pre-made soap base. Popular options include glycerin, shea butter, and goat milk soap bases. If you’re making soap from scratch using the cold-process method, you’ll need oils (such as olive oil, coconut oil, or palm oil) and sodium hydroxide (lye).
Essential Oils
Essential oils can enhance the scent and benefits of your oatmeal soap🧽. Lavender, chamomile, tea tree, and peppermint oils are popular options. Lavender is particularly soothing, while tea tree oil offers antibacterial properties.
Additives
You can add other natural ingredients to your oatmeal soap🧽 for added benefits. Honey, for example, acts as a natural humectant and has antibacterial properties. Shea butter and cocoa butter can enhance moisturization.
Step-by-Step Guide: How to Make Oatmeal Soap Using the Melt-and-Pour Method
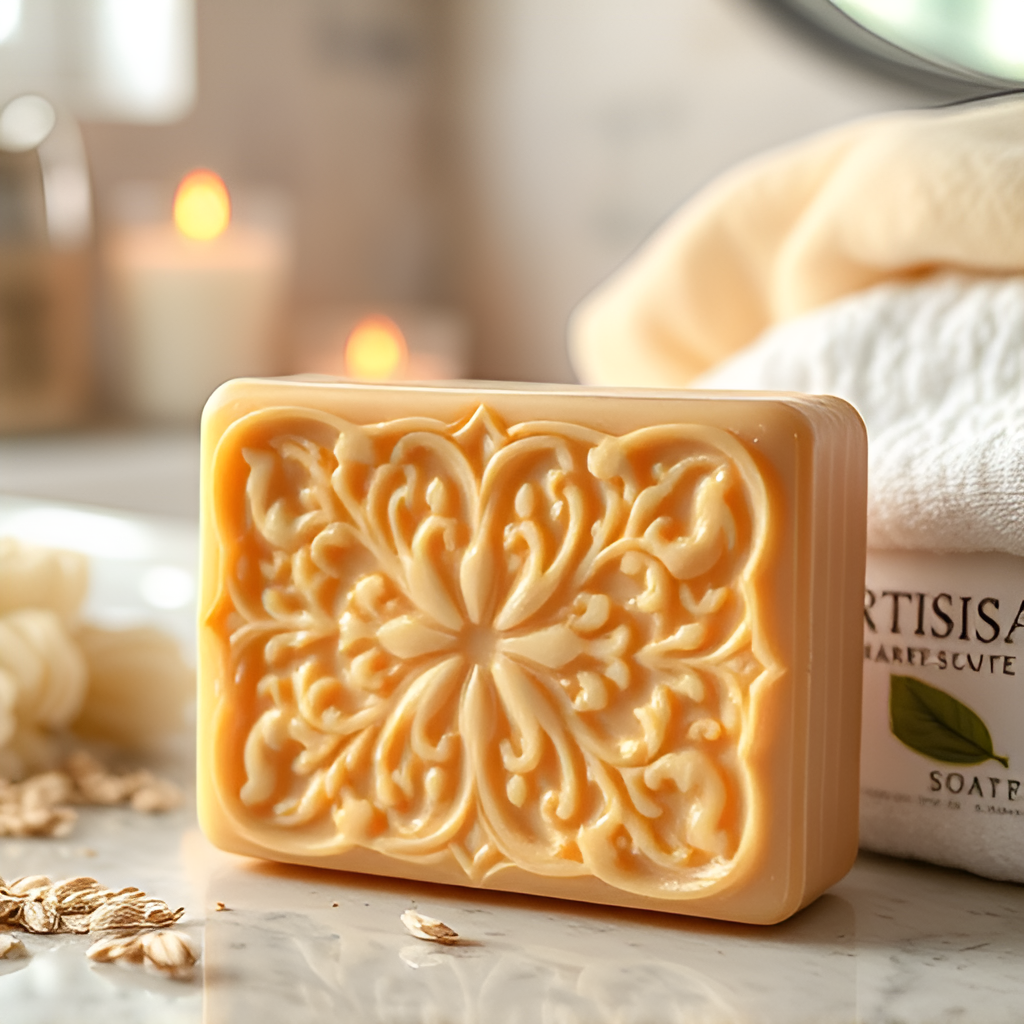
The melt-and-pour method is the easiest way to make oatmeal soap, especially for beginners. It involves melting a pre-made soap base, adding your ingredients, and then pouring the mixture into molds.
Materials You Will Need:
- Soap base (glycerin, goat milk, or shea butter)
- Colloidal oatmeal (finely ground oats)
- Essential oils (optional)
- Soap molds
- A double boiler or microwave-safe bowl
- Stirring spoon
- Spray bottle with rubbing alcohol (optional, to remove air bubbles)
Step 1: Prepare Your oatmeal Soap Base
Start by cutting your soap base into small cubes. This makes it easier to melt evenly. Place the cubes into a double boiler or a microwave-safe bowl.
Step 2: Melt the Soap Base
If you’re using a double boiler, melt the soap base over medium heat, stirring occasionally. If you’re using a microwave, heat the soap base in 30-second intervals, stirring in between until completely melted.
Step 3: Add Oatmeal and Essential Oils
Once the soap base is melted, stir in the colloidal oatmeal. For every pound of soap base, use about 2-3 tablespoons of ground oatmeal. Next, add a few drops of your chosen essential oils. A general guideline is about 10-15 drops of essential oil per pound of soap base.
Step 4: Pour into Molds
Carefully pour the mixture into your soap molds. If you notice air bubbles forming, you can spray the surface with rubbing alcohol to eliminate them.
Step 5: Let the oatmeal soap Set
Let the soap sit at room temperature for a few hours to cool and solidify. Once fully set, pop the soap out of the molds.
Step 6: Store or Use
Your handcrafted oatmeal soap🧽 is now all set for use! Store the soap in a cool, dry place until you’re ready to enjoy it.
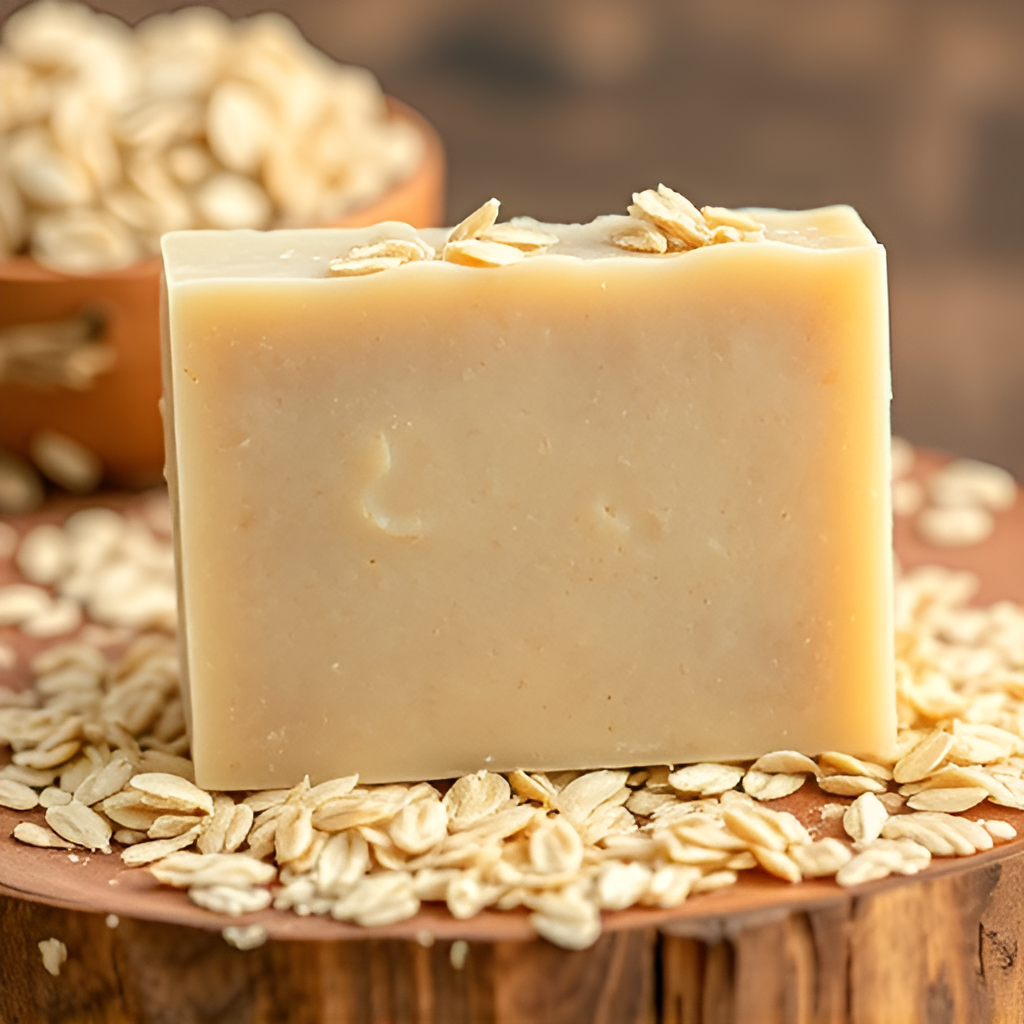
Step-by-Step Guide: How to Make Oatmeal Soap Using the Cold Process Method
For those who want more control over the ingredients and enjoy the traditional method of soap making, the cold-process method is a great option. This method involves creating soap from scratch using oils and lye, which can be more time-consuming but allows for a greater level of customization.
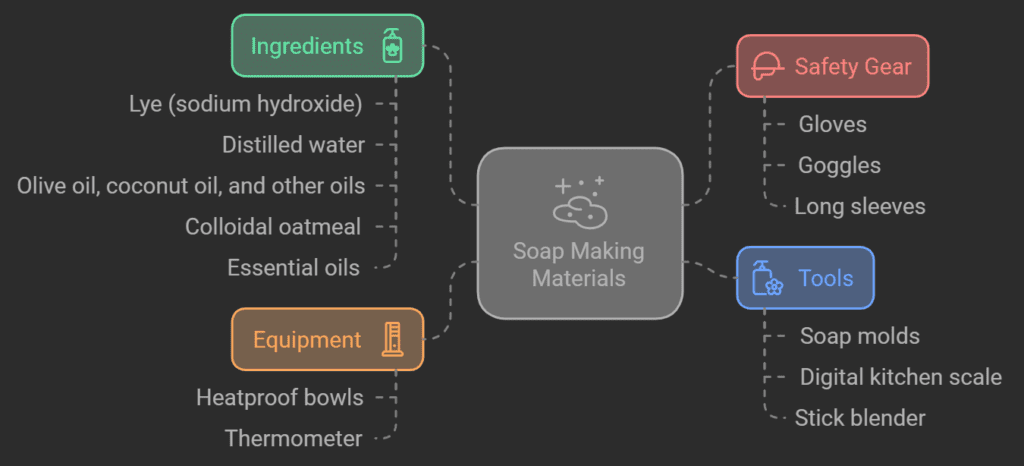
Materials You Will Need:
- Lye (sodium hydroxide)
- Distilled water
- Olive oil, coconut oil, and other oils of choice
- Colloidal oatmeal (finely ground oats)
- Essential oils (optional)
- Safety gear (gloves, goggles, long sleeves)
- Soap molds
- Digital kitchen scale
- Stick blender
- Heatproof bowls
- Thermometer
Step 1: Prepare Your Workspace
Since lye can be dangerous if mishandled, it’s important to work in a well-ventilated area and wear protective gear, including gloves, goggles, and long sleeves.
Step 2: Measure and Mix the Lye Solution
Using a digital scale, measure the correct amount of lye and distilled water according to your recipe. Slowly add the lye to the water (never the other way around) while stirring gently. The mixture will become hot and emit fumes, so please exercise caution. Allow it to cool to about 100-110°F.
Step 3: Measure and Heat the Oils
Weigh your oils (such as olive oil, coconut oil, and any others you’re using) and heat them in a double boiler until they reach around 100-110°F.
Step 4: Combine Lye and Oils
Once both the lye solution and oils are at similar temperatures, slowly pour the lye solution into the oils. Use a stick blender to mix them together until you reach “trace.” Trace is when the mixture thickens to the consistency of pudding, and you can see trails on the surface as you stir.
Step 5: Add Oatmeal and Essential Oils
Once the soap reaches trace, add in your colloidal oatmeal and essential oils. Stir them thoroughly to ensure they are evenly distributed.
Step 6: Pour into Molds
Pour the soap mixture into your molds, tapping them lightly on the countertop to remove any air bubbles.
Step 7: Cure the oatmeal Soap
Cover the molds with a towel or plastic wrap and let the soap sit for 24-48 hours. Afterward, remove the soap from the molds and cut it into bars if necessary. Allow the soap to cure in a cool, dry place for 4-6 weeks before using. This curing process allows the soap to harden and become milder for the skin.
Customizing Your Oatmeal Soap
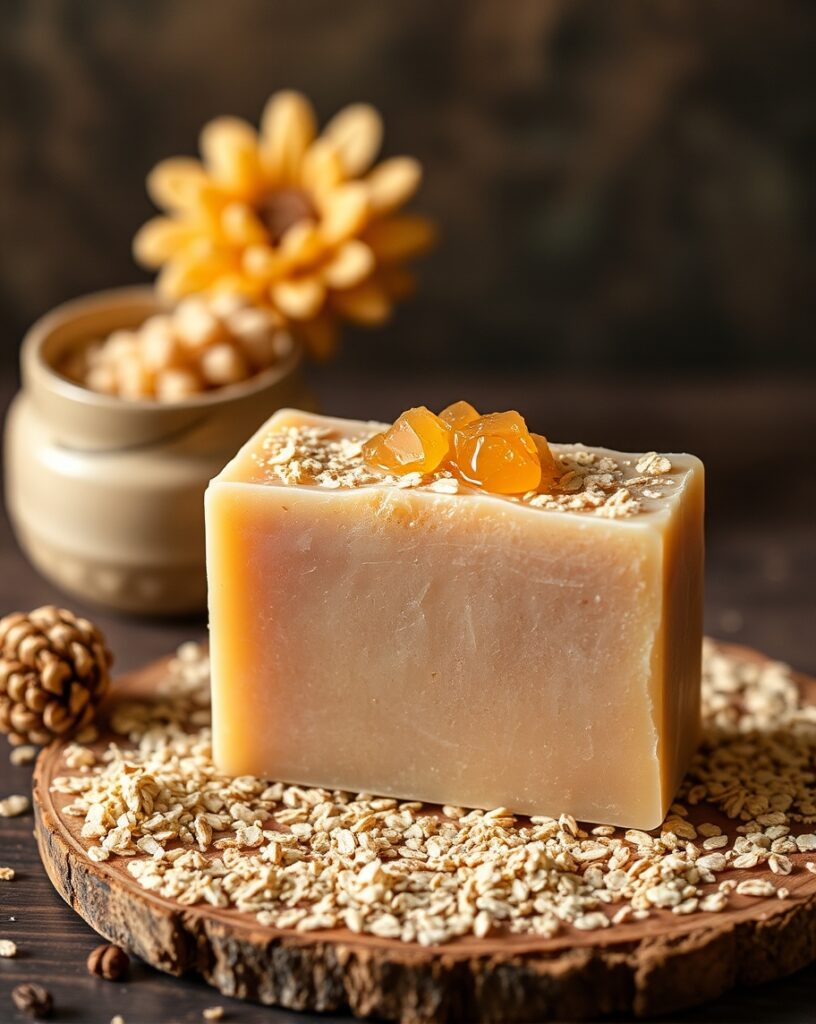
One of the best parts of making your own oatmeal soap is the ability to customize it to meet your skin’s needs. Here are a few ideas for personalizing your oatmeal soap:
1. Add Honey for Extra Moisture
Honey is a natural humectant, meaning it helps the skin retain moisture. Adding a tablespoon of honey to your oatmeal soap recipe can provide extra hydration, making it a perfect addition for dry or sensitive skin.
2. Use Goat Milk for a Creamy Texture
Goat milk soap base is a great alternative to regular glycerin soap base. Goat milk is rich in fatty acids and vitamins that help nourish the skin, giving your soap a luxurious, creamy texture.
3. Incorporate Other Exfoliants
While oatmeal is an excellent exfoliant, you can also combine it with other natural exfoliants like ground almonds, coffee grounds, or sea salt for additional scrubbing power.
4. Try Different Essential Oils for the oatmeal soap
Experiment with different essential oils to create a custom scent for your soap. Lavender and chamomile are soothing, while citrus oils like lemon and orange add a fresh, invigorating aroma.
Storing and Using Your Oatmeal Soap
Proper storage is essential to keep your oatmeal soap lasting longer and maintaining its effectiveness. Store your soap in a dry, cool place, away from direct sunlight. Using a soap dish with drainage holes will help prevent the soap from becoming soggy between uses.
When using your oatmeal soap, create a rich lather between your hands or on a loofah, and gently massage it onto your skin. Focus on areas that need extra exfoliation or moisture.
Conclusion
Making oatmeal soap at home is a rewarding and enjoyable process that allows you to create a natural product tailored to your skincare needs. Whether you’re looking for a simple melt-and-pour option or want to dive into the cold-process method, oatmeal soap offers numerous benefits for the skin. From soothing irritation to providing gentle exfoliation, homemade oatmeal soap can transform your daily skincare routine.
With just a few ingredients and some creativity, you can produce luxurious, skin-loving oatmeal soap that’s free from harsh chemicals and tailored to your preferences. more recipes on qoqyrecipes.com and simplyrecipes.com

