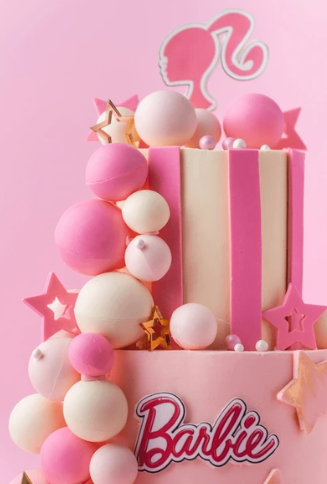
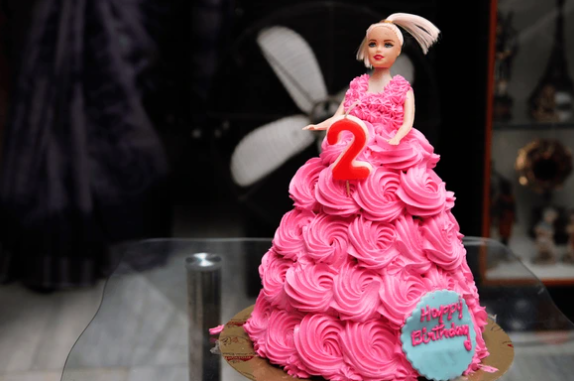
A Barbie cake 🎂 perfectly combines whimsy, creativity, and sweet indulgence. This unique cake 🎂 design is a favorite at children’s birthday parties, bridal showers, and other special celebrations. With the Barbie doll as the focal point, surrounded by a voluminous, decorated skirt made of cake, it’s no wonder why this cake 🎂 has become so popular over the years. Whether you are a beginner or an experienced baker, this step-by-step guide will walk you through how to make a Barbie cake that is sure to impress.
In this comprehensive guide, we will cover everything from selecting the right cake base, preparing the icing, and creating the perfect Barbie dress cake design. Let’s dive into how to create this stunning, showstopping dessert!
Choosing the Right Ingredients for Your Barbie Cake 🎂
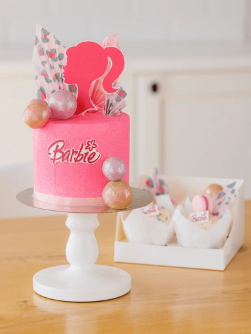
Before you get started, it’s essential to gather all the ingredients necessary to create a delicious and visually stunning cake. A successful Barbie cake starts with a sturdy base that can support the doll and decorations.
Cake Base: Picking the Perfect Flavor
The base of the Barbie cake 🎂 is often baked in a round, dome-shaped cake mold to resemble a ball gown. To ensure your cake is strong enough to hold up to the decorations, you will want to pick a dense, yet moist cake flavor. Some popular options include:
- Vanilla sponge cake 🎂: Light, fluffy, and classic in flavor, this is a common choice for Barbie cakes.
- Chocolate cake 🎂: Rich and decadent, this is a crowd-pleasing option that holds well under the weight of the doll and icing.
- Red velvet cake 🎂: With its signature red color and velvety texture, red velvet can add an extra layer of sophistication to your Barbie cake.
- Lemon cake 🎂: For a zesty twist, lemon cake brings a refreshing flavor that complements the sweetness of the frosting.
Frosting: Aesthetic and Flavor Matter
When it comes to frosting, the goal is to create a smooth, even surface that will mimic the flow of a gown. Popular frosting options include:
- Buttercream frosting: Buttercream is ideal for Barbie cakes 🎂 because of its smooth texture, rich flavor, and ease of piping. You can also color it to create the perfect shade for Barbie’s dress.
- Fondant: If you are looking for a perfectly polished look, fondant can be rolled out and draped over the cake to give it a smooth, satiny finish. It also allows you to add intricate details such as ruffles, flowers, and pleats.
- Cream cheese frosting: Often paired with red velvet or carrot cakes, cream cheese frosting offers a tangy contrast to the sweetness of the cake. It also spreads easily for a smooth finish.
Additional Supplies
In addition to your cake ingredients, you will need a few other supplies:
- A Barbie doll (or similar size doll)
- Round cake pans and a dome-shaped cake pan
- Food coloring for tinting the frosting
- Piping bags and tips
- A cake turntable (optional, but useful for icing the cake evenly)
Step-by-Step Instructions for Making a Barbie Cake 🎂
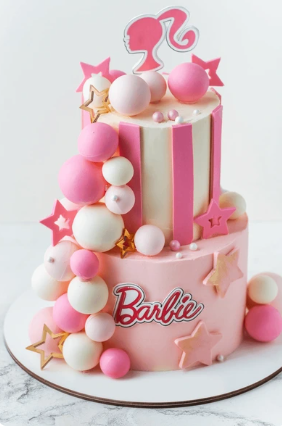
Once you have gathered your ingredients and supplies, it’s time to start the process of creating the perfect Barbie cake. Follow these steps to ensure your cake turns out beautifully.
Step 1: Bake the Barbie Cake 🎂 Layers
The first step in creating a Barbie cake is to bake the cake layers. You will need at least three round cake layers, along with one dome-shaped cake layer for the top. Here’s how to do it:
- Prepare the batter: Follow your chosen recipe to make the cake batter. Be sure to grease and flour the cake pans thoroughly to prevent sticking.
- Bake the cakes: Preheat your oven according to the recipe. Pour the batter evenly into the round cake pans and the dome-shaped pan. Bake the cakes for the recommended time or until a toothpick inserted into the center comes out clean.
- Cool the cakes: Once the cakes are fully baked, allow them to cool completely in the pans for about 10 minutes. Then transfer them to a wire rack to cool completely.
Step 2: Trim and Stack the Cakes
Once the cakes are cooled, it’s time to start assembling. To ensure the cakes stack evenly and create the right dress shape, you’ll need to trim the tops.
- Trim the cakes: Use a serrated knife to level the tops of the round cakes, making sure each layer is flat.
- Stack the cakes: Place a dollop of buttercream or frosting on the bottom cake layer to act as glue. Stack the round layers on top of each other, spreading a layer of frosting between each one. Add the dome-shaped cake on top.
Step 3: Insert the Barbie Doll
Now that the cake is assembled, it’s time to insert the Barbie doll into the center of the cake. Here’s how:
- Prepare the Barbie: Remove the doll’s clothing from the waist down, or wrap the bottom half of the doll in plastic wrap to protect it from the cake.
- Make space for the doll: Use a serrated knife or a round cookie cutter to create a hole in the center of the stacked cakes. The hole should be large enough to fit the Barbie doll’s lower body.
- Insert the doll: Gently insert the Barbie into the cake, pushing her down until her waist is at the top of the cake.
Step 4: Crumb Coat and Frost the Barbie Cake
The next step is to apply a crumb coat to the cake to lock in the crumbs and create a smooth surface for the final layer of frosting.
- Crumb coat: Using a spatula, apply a thin layer of frosting over the entire cake. This will help to keep any loose crumbs from showing through the final layer of icing.
- Chill the cake: Once the crumb coat is applied, refrigerate the cake for about 30 minutes to set the frosting.
- A final coat of frosting: After the crumb coat has been set, apply the final layer of frosting. Use a spatula to spread the frosting evenly over the cake, creating the appearance of a flowing gown. You can use piping bags and tips to add decorative details such as ruffles, pleats, or floral accents.
Step 5: Decorating the Dress
Now comes the most creative part—decorating the Barbie’s dress!
- Color the frosting: Use food coloring to tint the frosting in the desired shade for Barbie’s gown. Soft pastels, bright pinks, and shimmering metallics are popular choices.
- Create dress details: Use a piping bag fitted with a small round or star tip to pipe ruffles, flowers, and lace details onto the cake. You can also create the look of pleats by dragging the edge of a spatula vertically around the cake.
- Add embellishments: To make the dress sparkle, consider adding edible glitter, sugar pearls, or candy decorations. You can also use fondant to craft intricate designs like bows, lace appliques, or tiered layers on the skirt.
Step 6: Final Touches for the Barbie Cake
To complete the look, make sure all your finishing details are in place:
- Style the Barbie’s hair: You can style the doll’s hair to match the theme of the cake. Consider adding small flowers or ribbons for an extra touch of elegance.
- Create a matching base: If you want to take your cake presentation to the next level, consider covering the cake board with fondant or matching frosting. This creates a cohesive look for the cake and ensures it looks great from every angle.
Tips for Making the Perfect Barbie Cake
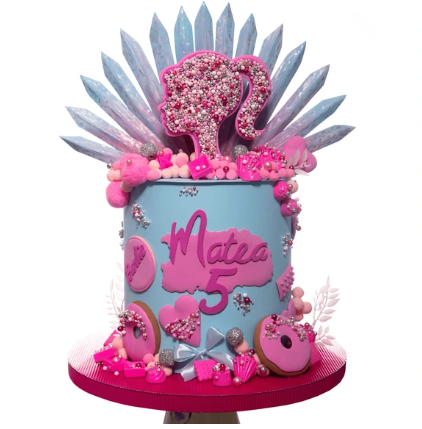
While making a Barbie cake can seem daunting, with a little patience and practice, you can create a stunning, professional-looking cake. Consider these valuable pointers as you proceed:
- Use a sturdy cake recipe: A dense, moist cake will hold up better under the weight of the Barbie doll and decorations.
- Chill the cake before frosting: Chilling the cake will help the frosting set and make it easier to decorate.
- Be patient with the details: Intricate details like ruffles and flowers take time, so don’t rush. Take your time to create a polished, elegant look.
- Plan your design ahead of time: Before you start decorating, sketch out your design ideas. This will help you plan the colors, patterns, and details you want to include.
- Practice piping techniques: If you’re new to piping frosting, practice on a piece of parchment paper before decorating the cake. This will help you get comfortable with different techniques.
Barbie Cake Variations and Themes
One of the best things about making a Barbie cake is that you can customize it to fit any theme or occasion. Here are some creative ideas for different variations:
- Princess Barbie cake: For a royal theme, create a Barbie cake with a sparkling tiara, gold accents, and a voluminous ball gown.
- Mermaid Barbie cake: Instead of a traditional gown, create a mermaid tail using shades of blue and green frosting or fondant scales. Add seashell decorations for a beachy vibe.
- Fairy Barbie cake: Transform your Barbie into a woodland fairy with a flowing gown of pastel-colored fondant and butterfly wings made from sugar paste.
- Winter Wonderland Barbie cake: For a winter-themed celebration, create a Barbie cake dressed in an icy blue gown with white snowflake decorations and silver accents.
Conclusion
Creating a Barbie cake is a fun and rewarding project that allows you to showcase your baking and decorating skills. By following the steps outlined in this guide, you can make a beautiful and delicious cake that will be the highlight of any event. With endless possibilities for customization, you can truly let your creativity shine with this iconic dessert. more recipes on qoqyrecipes.com and allrecipes.com

